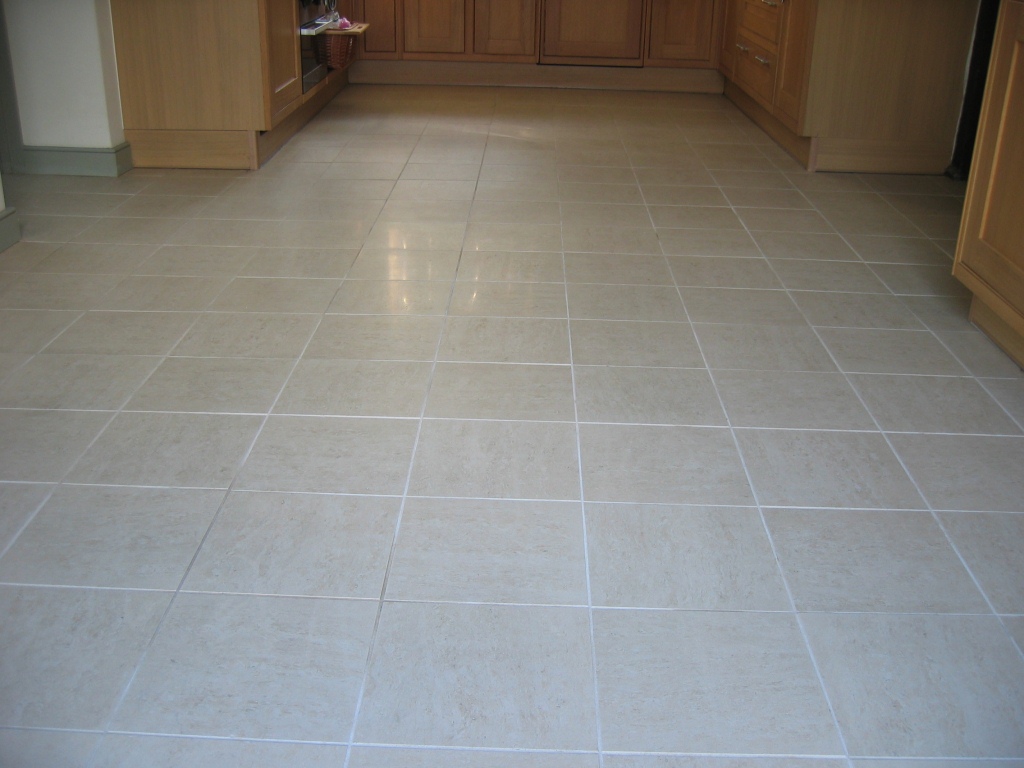
The home owner of this house in Stockbridge had become increasingly unhappy with the state of their ceramic tiled floor and we were asked to come in and give the ceramic tile and grout a thorough deep clean.

Cleaning and Preparing the Tile and Grout
To get the tile and grout clean I applied a dilution of Tile Doctor Pro-Clean and left it to soak in to the surface dirt for a while before scrubbing it with a rotary machine fitted with a black scrubbing pad and also a stiff hand brush along the grout lines. This was then washed down with warm water all of which was removed by a wet Vacuum. This cleaning process was repeated until the tiles were clean and the grout was a good as I could get it. Unfortunately the grout had stained quite badly and we were unable to get a good uniform appearance so it was agreed that we would applying a white Grout Colourant.
Applying Grout Colourant
The grout colourant range sold by Tile Doctor are a huge improvement on those grout pens you will find in DIY stores, they come in a range of colours and form a hard wearing epoxy barrier over the existing grout that looks natural and effectively protects the grout from further staining.
The grout needs to be clean and dry before you apply it so if you’re doing this from scratch make sure you clean the grout first with Pro-Clean or the Pre-Treater product that is available. The grout colourant is then easily applied using a toothbrush, it sounds easy but you have to be very methodical. The colourant dries in about an hour after which it’s worth double checking your work and then removing any excess by applying a little water and running over it with a white pad.


Great result done on this ceramic flooring, changing the colour of the grout can make a big difference.