Grout Cleaning

Welcome to my Work History archive where you will find detailed examples of the cleaning and renovation of grout carried out in Hampshire

Cleaning and Renovating Grout

The top layer of grout is porous and can absorb grease, dirt and limescale. Spillages such as wine, lemonades or greasy substances will cause marks and patches in the joints in the floor. Grout between wall-tiles particularly in damp areas like bathrooms will become dirty and unattractive as a result of Mould, Mildew and Limescale.

Mould is one of the most unsightly problems, which usually starts off in the wettest area of the room, this could be the bottom of the shower or bath, then starts to spread and if left unchecked could cover a large area of the wall.

Another common issue we find is a problem known as Grout Haze or Grout Smearing where a thin layer of grout has been left to set on the surface of the tile. Once grout has set it is difficult to remove.

Discolouration of grout joints in bath or shower areas due to continued use of acid formulated shampoos and soaps. This causes yellow orange and pink stains to the grout over even a short period of time. Whilst Grout Joints can be cleaned, badly stained grout may need to be re-coloured.

Protecting your grout in advance with a sealer will prevent most of these issues and although relatively unknown in the UK, protection awareness is growing. Sealing forms an invisible barrier between the grout and the surface, this will then protect your investment for years to come.

We have solutions for all the problems listed above and below you will find detailed examples of work we have carried out in the past to resolve many of these issues. It should give you some idea of what’s involved and what can be achieved with the right techniques and products.


Cleaning Porcelain Tile and Grout in Warsash Before and After

Cleaning Micro Porous Porcelain Tiles and Grout in a Warsash Kitchen

Porcelain tiles are very tough and a great choice for kitchens where they are likely to see a large amount of foot traffic, you do need to be careful however if they are the micro porous porcelain which as the name suggests are slightly porous and if not sealed will trap dirt. The other problem you are likely to have with any tiled floor is the grout which has a porous top layer that can become stained. This kitchen floor at a house in Warsash had both these issues and needed to be cleaned and re-sealed due to dirt becoming ingrained in the tile and grout making it difficult to clean and losing its appearance.

Cleaning Porcelain Tile and Grout in Warsash Before

Cleaning and Preparing Porcelain Tile and Grout

To remove any remaining sealer and clean the tiles and grout a strong dilution of Tile Doctor Pro-Clean was applied and left to soak in to the surface for around ten minutes before scrubbing it into the tile with a rotary machine fitted with a black scrubbing pad and also a stiff hand brush along the grout lines. This was then washed down with warm water all of which was removed by a wet Vacuum. This stripping and cleaning process was repeated until the tile and the grout was looking new again after which the floor was given a thorough rinse in order to remove any trace of product and then dried as much as possible using the wet vacuum.

Sealing Micro Porous Porcelain

We left the floor to dry overnight and came back the next day to seal the floor first testing to ensure it was bone dry. Dry it was and so we proceeded to seal the floor using two coats of Tile Doctor Colour Grow which provides strong stain protection as well as lifting the colours in the tile. For those technically minded people reading this post an impregnating sealer penetrates into the pores of the tile to occupy the holes and therefore prevent any dirt from resting there.

Cleaning Porcelain Tile and Grout in Warsash After
I took the picture above whilst the floor was drying but hopefully you can see the improvement in the look of the tile and how clean the grout has become.

Restoring Porcelain Tiles and Grout in Warsash

Cleaning Micro Porous Porcelain Tiles and Grout in a Warsash Kitchen Read More »

Romsey Ceramic Tile and Grout Before and After Cleaning and Colouring

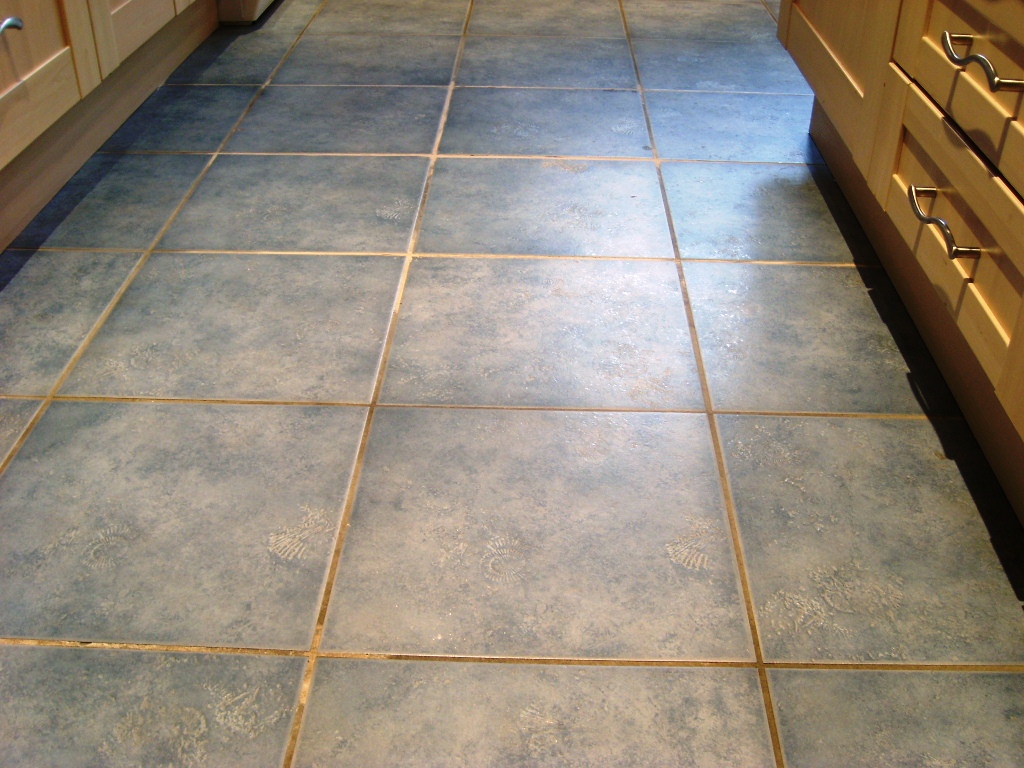
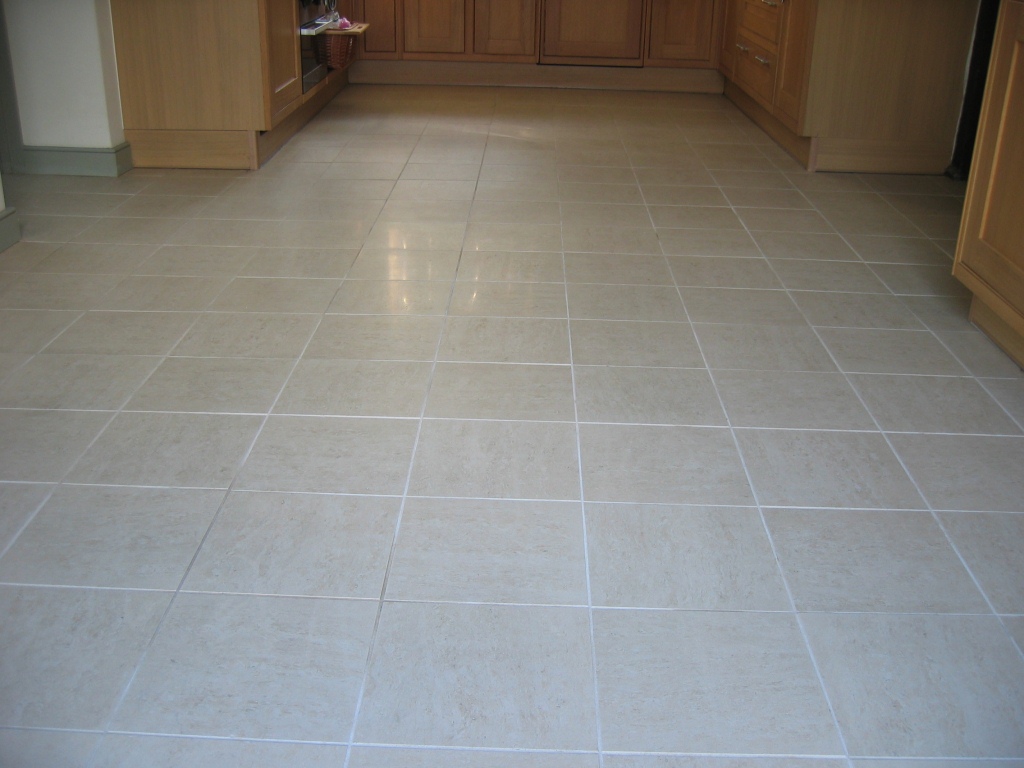
Kitchen Ceramic Tile and Grout Clean in Romsey

This was a straightforward request to deep clean the Ceramic Tile and Grout in the kitchen of a house in Romsey, Hampshire but as you will see from the photograph below the Grout was far too stained to be cleaned effectively. Kitchen grout gets a lot of abuse from spillages so this is not unusual and to prevent it the grout can be sealed or you can choose a dark grout colour.

Romsey Ceramic Tile and Grout Before Cleaning

Cleaning and Preparing the Tile and Grout

To get the tile and grout clean I applied a dilution of Tile Doctor Pro-Clean and left it to soak in to the surface dirt for a while before scrubbing it with a rotary machine fitted with a black scrubbing pad and also a stiff hand brush along the grout lines. This was then washed down with warm water all of which was removed by a wet Vacuum. This cleaning process was repeated until the tiles were clean and the grout was a good as I could get it. Unfortunately the grout had stained quite badly and we were unable to get a good uniform appearance so after discussing this with the customer it was agreed that we would apply a white Grout Colourant.

Applying Grout Colourant

If it was a small area I could have considered using a Grout Pen however this required more than a touch up so this is where you need an epoxy grout colourant which forms a hard wearing epoxy barrier over the existing grout that looks natural and effectively protects the grout from further staining.

The grout needs to be clean and dry before you apply it so if you’re doing this from scratch make sure you clean the grout first with Pro-Clean or the Pre-Treater product that is available. The grout colourant is then easily applied using a toothbrush, it sounds easy but you have to be very methodical. The colourant dries in about an hour after which it’s worth double checking your work and then removing any excess by applying a little water and running over it with a white pad.

Romsey Ceramic Tile and Grout After Cleaning and Colouring
I think you will agree from the photographs the tiles look much cleaner and the floor transformed by the improvement in grout colour.

Kitchen Ceramic Floor Restored in Romsey

Kitchen Ceramic Tile and Grout Clean in Romsey Read More »

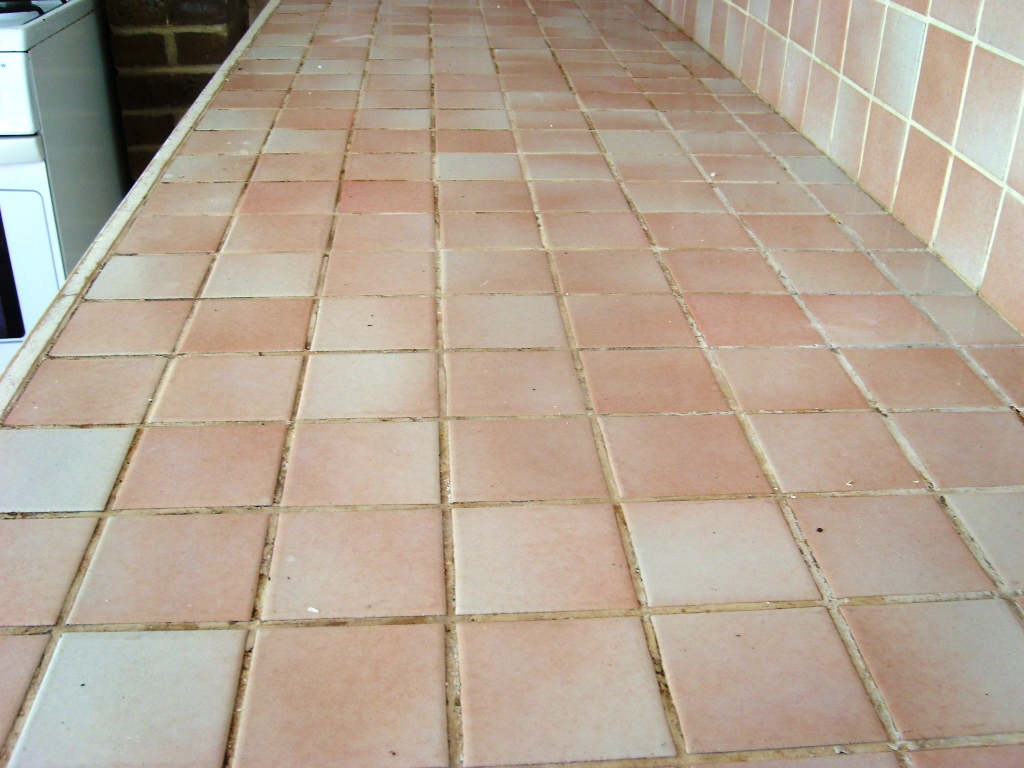
Kitchen Tiled Worktop in Brighton Before and After Cleaning

Cleaning a Ceramic Tiled Kitchen Worktop in Brighton

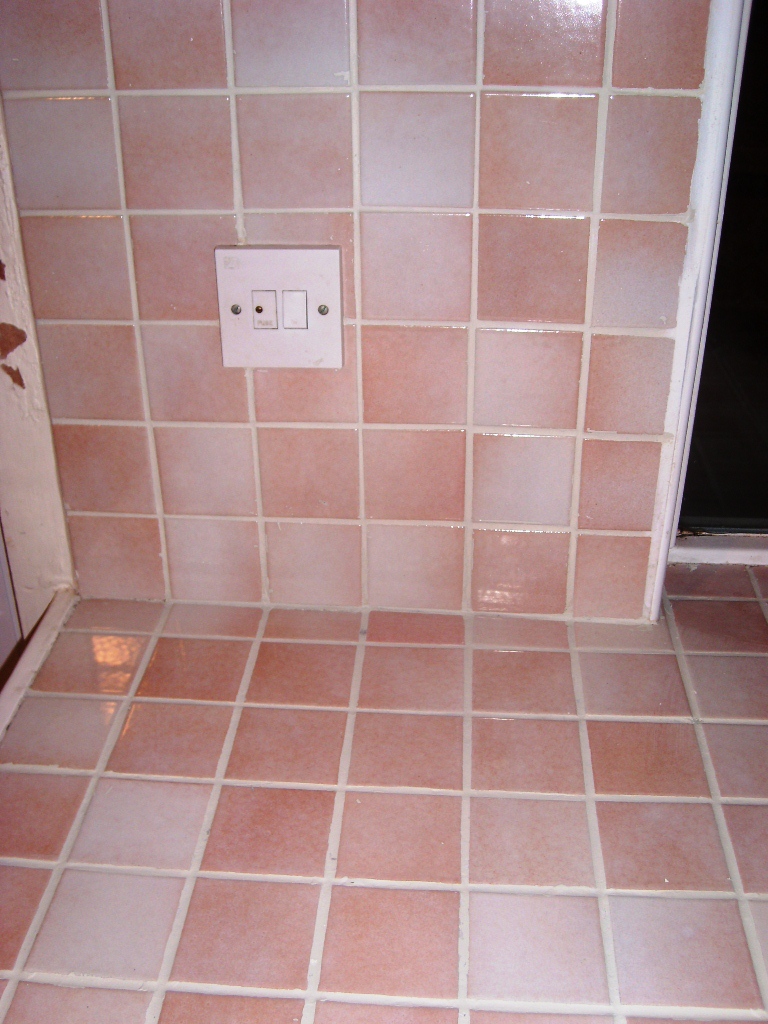
Following a referral from customer which is always nice to have, we paid a visit to a house in Brighton where the owner was having difficulty keeping their ceramic tiled kitchen worktop clean. As you can see from the photograph below the glazed ceramic tiles were in reasonable condition, it was the grout that was the problem; this is not unusual as glazer ceramics are very hard wearing but the top layer of grout is in fact porous and will trap dirt and become discoloured if not sealed.

Kitchen Tiled Worktop in Brighton Before Cleaning

Grout Cleaning

There were two ways this job could have been tackled, the first being to remove the top layer or grout using the flat blade of a screwdriver and then re-grout. It was a reasonably large area of worktop so this would have taken some time. The second and simpler option is to use a heavy duty tile and grout cleaning product such as Tile Doctor Pro-Clean and that is exactly what we did, it also has the added advantage of cleaning the tiles at the same time.

The Pro-Clean was diluted with water and then left to dwell on the tile and grout for about ten minutes before being scrubbed in by hand with a stiff brush. For the wall tiles the solution was decanted to a spray bottle and sprayed onto the tiles, the combination with air makes it lighter and more able to stick to a vertical surface.

The tiles were then washed down with water and any stubborn areas re-treated with more Pro-Clean and elbow grease, it wasn’t long before the tile and grout was looking like new again.

Sealing Grout

Now glazed Ceramic tiles don’t need to be sealed as the glaze provides an effective barrier however as I mentioned before the top layer of grout is porous and will attract dirt over time and should be sealed, especially considering kitchen worktops are used to prepare food. Tile Doctor have a range of sealing products any of which will seal grout however in this case I used Wall Tile and Grout Sealer which comes in a spray bottle.

Kitchen Tiled Worktop in Brighton After Cleaning

Cleaning Ceramic Worktop Tile and Grout on the South Coast

Cleaning a Ceramic Tiled Kitchen Worktop in Brighton Read More »

Floor Ceramic Tiles After Stockbridge

Kitchen Ceramic Tile and Grout Clean in Stockbridge

The home owner of this house in Stockbridge had become increasingly unhappy with the state of their ceramic tiled floor and we were asked to come in and give the ceramic tile and grout a thorough deep clean.

Floor Ceramic Tiles Before Stockbridge

Cleaning and Preparing the Tile and Grout

To get the tile and grout clean I applied a dilution of Tile Doctor Pro-Clean and left it to soak in to the surface dirt for a while before scrubbing it with a rotary machine fitted with a black scrubbing pad and also a stiff hand brush along the grout lines. This was then washed down with warm water all of which was removed by a wet Vacuum. This cleaning process was repeated until the tiles were clean and the grout was a good as I could get it. Unfortunately the grout had stained quite badly and we were unable to get a good uniform appearance so it was agreed that we would applying a white Grout Colourant.

Applying Grout Colourant

The grout colourant range sold by Tile Doctor are a huge improvement on those grout pens you will find in DIY stores, they come in a range of colours and form a hard wearing epoxy barrier over the existing grout that looks natural and effectively protects the grout from further staining.

The grout needs to be clean and dry before you apply it so if you’re doing this from scratch make sure you clean the grout first with Pro-Clean or the Pre-Treater product that is available. The grout colourant is then easily applied using a toothbrush, it sounds easy but you have to be very methodical. The colourant dries in about an hour after which it’s worth double checking your work and then removing any excess by applying a little water and running over it with a white pad.

Floor Ceramic Tiles After Stockbridge
I think you will agree from the photographs the tiles look much cleaner and the change in grout colour makes the floor look that much fresher, it will also be a lot easier to maintain going forward.

Maintaining Ceramic Tile and Grout

Kitchen Ceramic Tile and Grout Clean in Stockbridge Read More »

Southampton Grout Recolour Before and After

Grout Colouring in Southampton

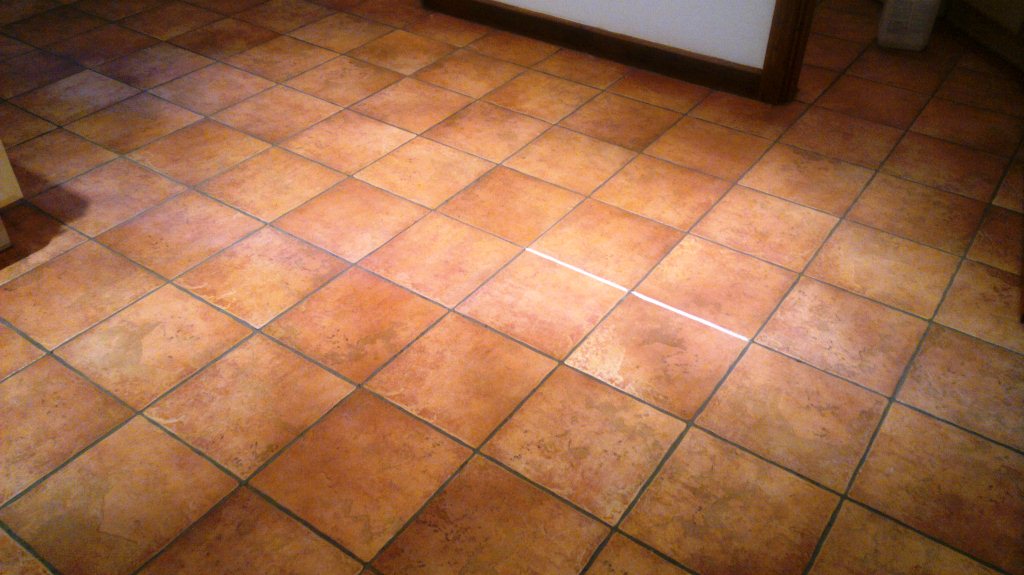
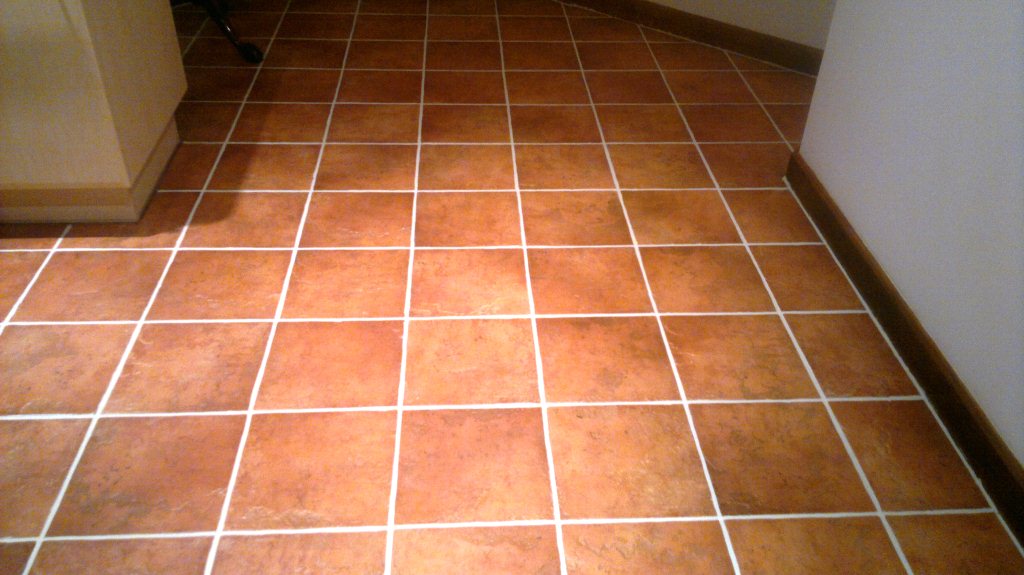
This Porcelain Terracotta floor had dark grout and the home owner wanted the colour changing to lighten the floor. There are a number of products on the market for this purpose including grout colour pens which are ok for a quick touch up but for a large area like this you really need to use the range recommend by Tile Doctor which not only change the colour but also provides a protective barrier that seals the grout as well ensuring it keeps it appearance well into the future.

Southampton Grout Recolour Before

Preparing the Grout

Before applying a Grout Colour it’s important to ensure the grout is clean of grease and dirt; Tile Doctor Pro-Clean is a strong alkaline cleaner that’s good for this purpose, for best results you should allow the cleaner to dwell for a while and then get into the grout joints by hand with a stiff brush. Last step is to rinse the floor down with clean water to remove any remaining cleaning product, I recommend the use of a wet vacuum at this point to remove liquids from the floor.

Southampton Grout Recolour Before Southampton Grout Recolour After

Applying the Grout Colour

Once the grout has dried you can start applying the colourant which is a relatively straightforward process of squeezing the product onto a toothbrush and running it onto the grout. Don’t be tempted to use an old toothbrush for this purpose as it may contaminate the colourant leading to discolouration in the finish. The product sets in a couple of hours so I was able to do the whole floor in a day.

Southampton Grout Recolour After
 

Colouring Grout in Hampshire

Grout Colouring in Southampton Read More »

Chinese Black Slate in Basingstoke Cleaned and Sealed

Cleaning and Sealing Black Chinese Slate Tiles in Basingstoke

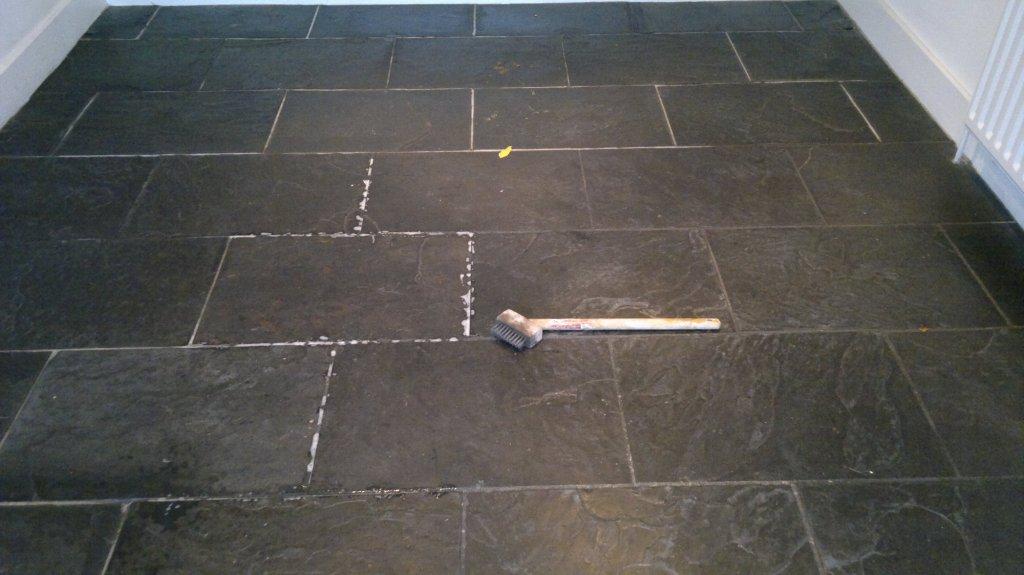
You can see from the photograph below how dirty these Black Chinese Slate tiles and grout had become; the old sealer protecting the tile and grout from stains had virtually vanished because the customer in Basingstoke had been using washing up liquid to clean them. Generally speaking washing up liquid is a degreaser with a slight Acidic PH and over time it can strip the sealer off. This was definitely the root cause of problem in this case in fact the sealer was virtually non existent. In a way this made our job easier as we have to remove any sealer before we can start cleaning.

Chinese Black Slate in Basingstoke Before

Cleaning Chinese Black Slate

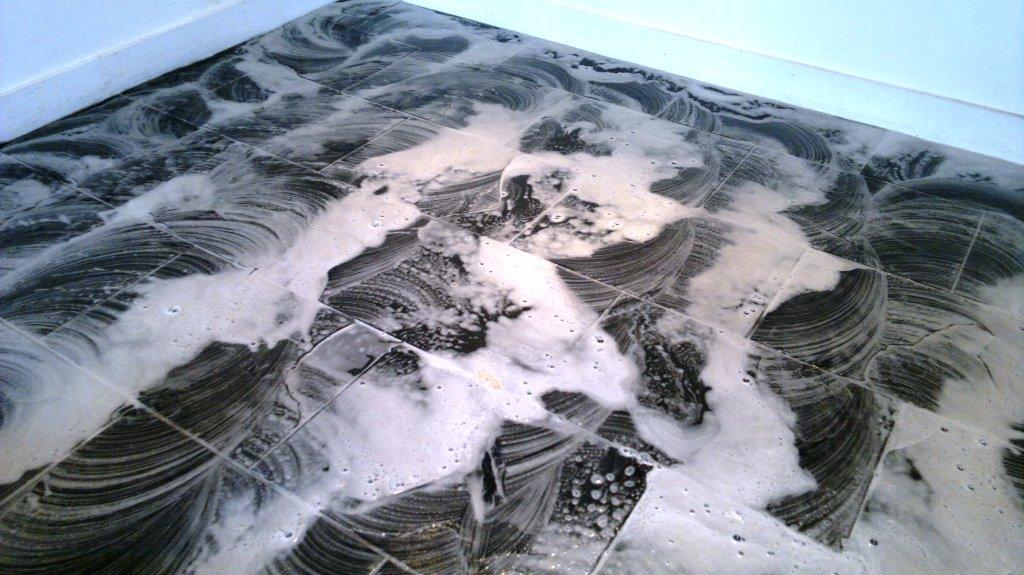
The first job we did was to work on the grout lines using a strong solution of Tile Doctor Pro-Clean which we left to dwell on the grout first before working it in with a special stiff brush. Pro-Clean is a strong alkaline cleaner which unlike acidic products is safe to use on all types of stone. To remove the remaining sealer and clean the slate floor we used Pro-Clean again this time worked in with a rotary machine fitted with a scrubbing pad.

Chinese Black Slate in Basingstoke During Cleaning
The soiled liquids were removed and the floor rinsed down with clean water, we find a wet Vacuum machine comes in very handy at this point as there great for removing liquids from floors. We repeated this process a number of times until we were happy the slate tile and grout were thoroughly clean.

Sealing Chinese Black Slate

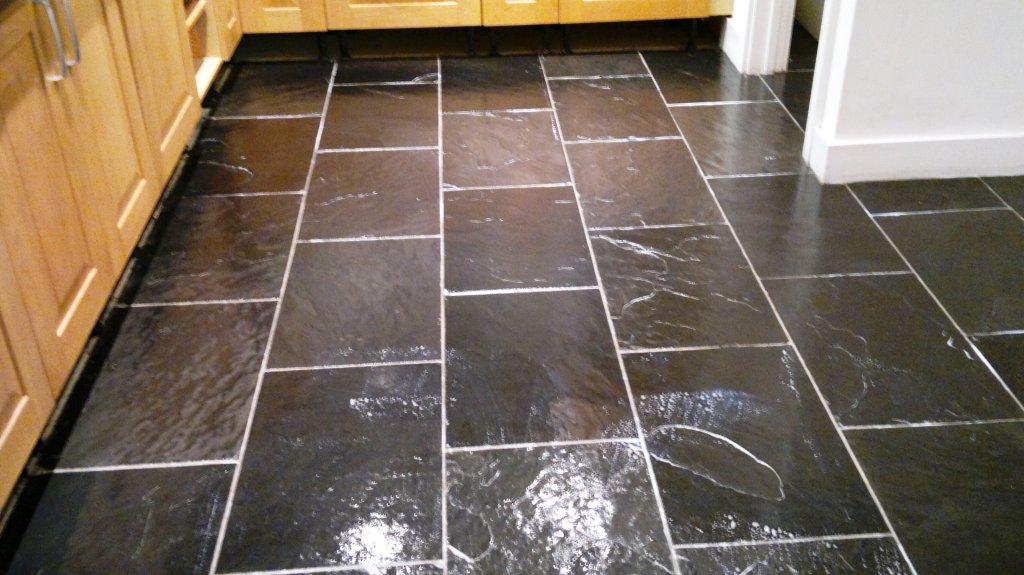
The slate floor was left to dry overnight and we came back the next day to seal it. The floor has to be dry for this process so we use a damp meter to make sure and we keep an industrial air blower in the van that we can use in case we need to speed things up. To seal the black slate we applied five coats of Tile Doctor Seal and Go which is a great stain protector recommended for slate floors that leaves a nice low sheen on the floor.

Chinese Black Slate in Basingstoke Cleaned and Sealed
Last but not least we advised the customer that going forward they should use a PH neutral cleaning product for regular cleaning and recommended the use Tile Doctor Neutral Cleaner going forward.

Black Slate and Grout Cleaning in Basingstoke

Cleaning and Sealing Black Chinese Slate Tiles in Basingstoke Read More »

=================================

Hampshire Tile Doctor

================================= Read More »

Scroll to Top