Porcelain Tile Cleaning

Welcome to my Work History archive where you will find detailed examples of the cleaning and renovation of Porcelain tiles carried out in Hampshire

Cleaning and Polishing Porcelain tiles

Harder than ceramic tiles modern production methods have allowed a growth in the availability and design of Porcelain tiles which are known for their durability and water resistance making them a popular option for floors. Like Ceramic, Porcelain tiles are generally very easy to clean and need little maintenance however some are micro porous and do require sealing, you will need to ask you supplier which type you have installed as it can be very difficult to tell.

If your Porcelain tiles are of the micro porous variety then they will need to be sealed to avoid a build-up of dirt in the pores of the tile. For this we recommend Tile Doctor Ultra-Seal which works by impregnating the pores to ensure dirt can’t become ingrained there without changing the appearance of the tile itself.

Apart from sealing the biggest issues with this type of tile are usually grout related. Either the adjacent grout discolours over time or the tiler has been unable to remove excess grout from the surface of the tile, an issue known as Grout Haze or Grout Smears. Modern grouts can be particularly susceptible to the grout haze issue due to shorter working times and polymers in the grout which make it difficult to remove once dry. If this sounds familiar do contact us so we can advise you on how best to remove it.

Below you will find detailed examples of work we have carried out in the past, it should give you some idea of what’s involved and what can be achieved with the right techniques and products.


Cleaning Micro Porous Porcelain Tiles and Grout in a Warsash Kitchen

Cleaning Micro Porous Porcelain Tiles and Grout in a Warsash Kitchen

Porcelain tiles are very tough and a great choice for kitchens where they are likely to see a large amount of foot traffic, you do need to be careful however if they are the micro porous porcelain which as the name suggests are slightly porous and if not sealed will trap dirt. The other problem you are likely to have with any tiled floor is the grout which has a porous top layer that can become stained. This kitchen floor at a house in Warsash had both these issues and needed to be cleaned and re-sealed due to dirt becoming ingrained in the tile and grout making it difficult to clean and losing its appearance.
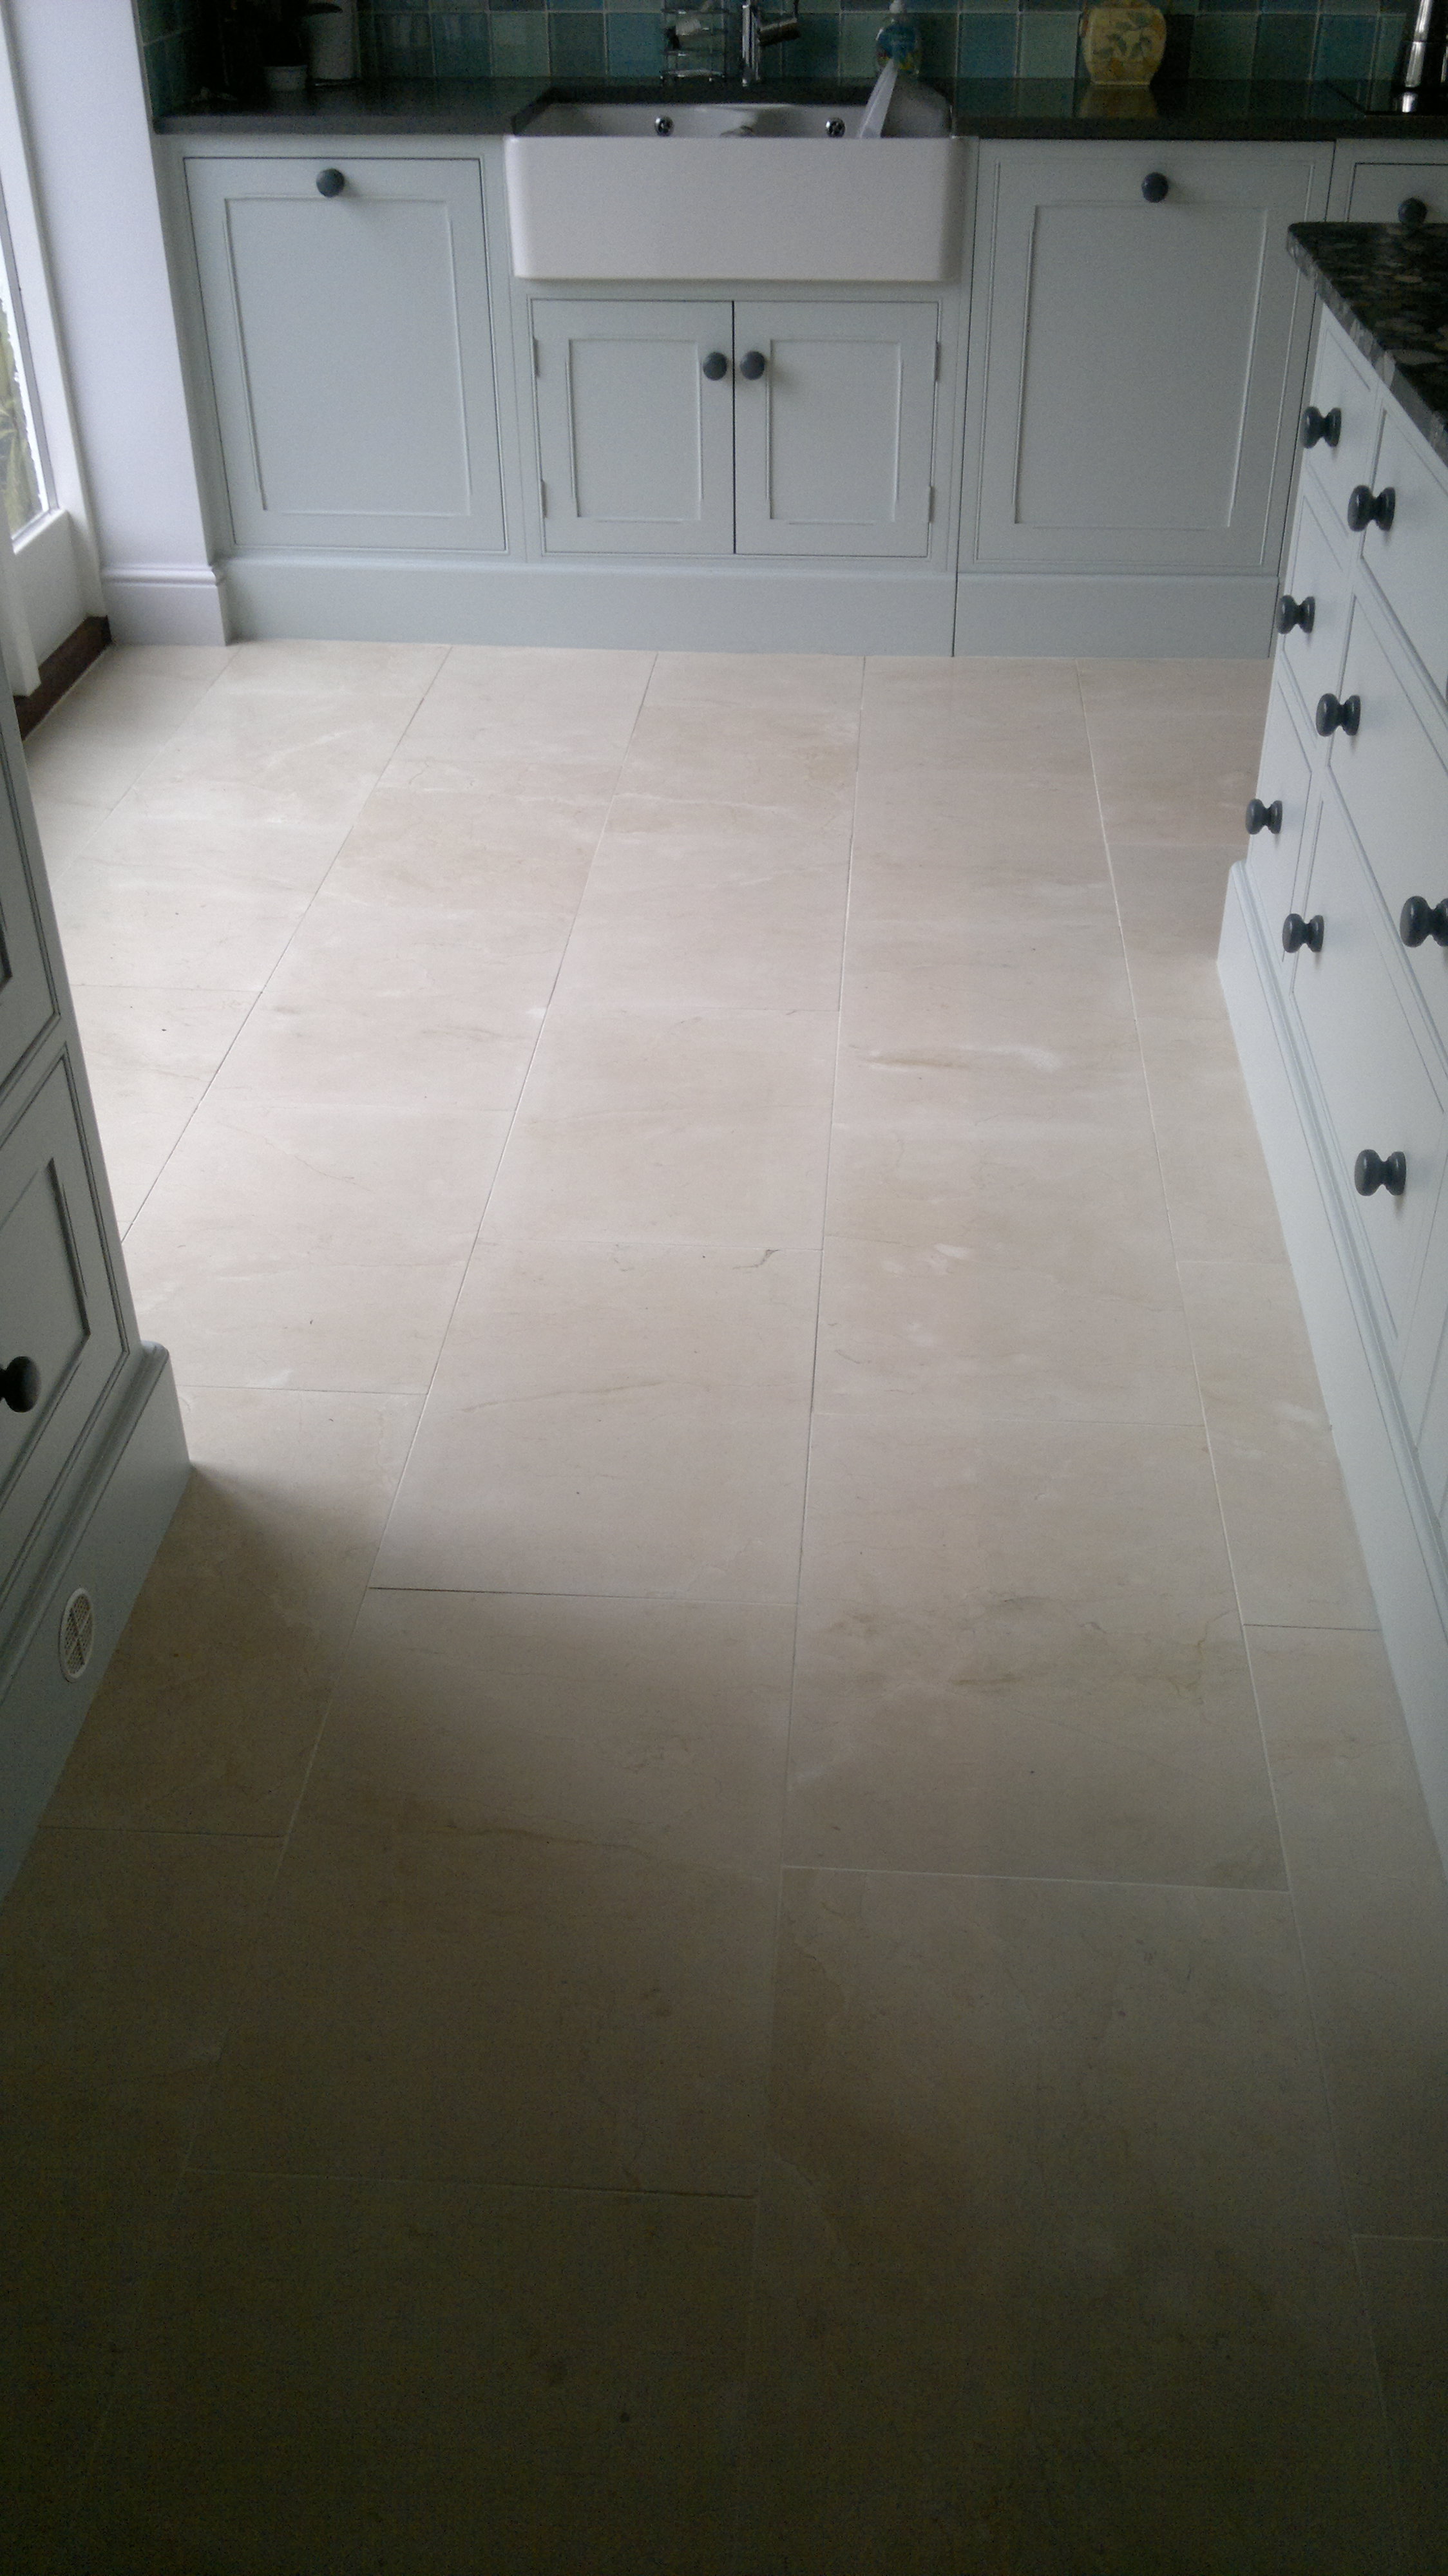
Cleaning Porcelain Tile and Grout in Warsash Before

Cleaning and Preparing Porcelain Tile and Grout

To remove any remaining sealer and clean the tiles and grout a strong dilution of Tile Doctor Pro-Clean was applied and left to soak in to the surface for around ten minutes before scrubbing it into the tile with a rotary machine fitted with a black scrubbing pad and also a stiff hand brush along the grout lines. This was then washed down with warm water all of which was removed by a wet Vacuum. This stripping and cleaning process was repeated until the tile and the grout was looking new again after which the floor was given a thorough rinse in order to remove any trace of product and then dried as much as possible using the wet vacuum.

Sealing Micro Porous Porcelain

We left the floor to dry overnight and came back the next day to seal the floor first testing to ensure it was bone dry. Dry it was and so we proceeded to seal the floor using two coats of Tile Doctor Colour Grow which provides strong stain protection as well as lifting the colours in the tile. For those technically minded people reading this post an impregnating sealer penetrates into the pores of the tile to occupy the holes and therefore prevent any dirt from resting there.
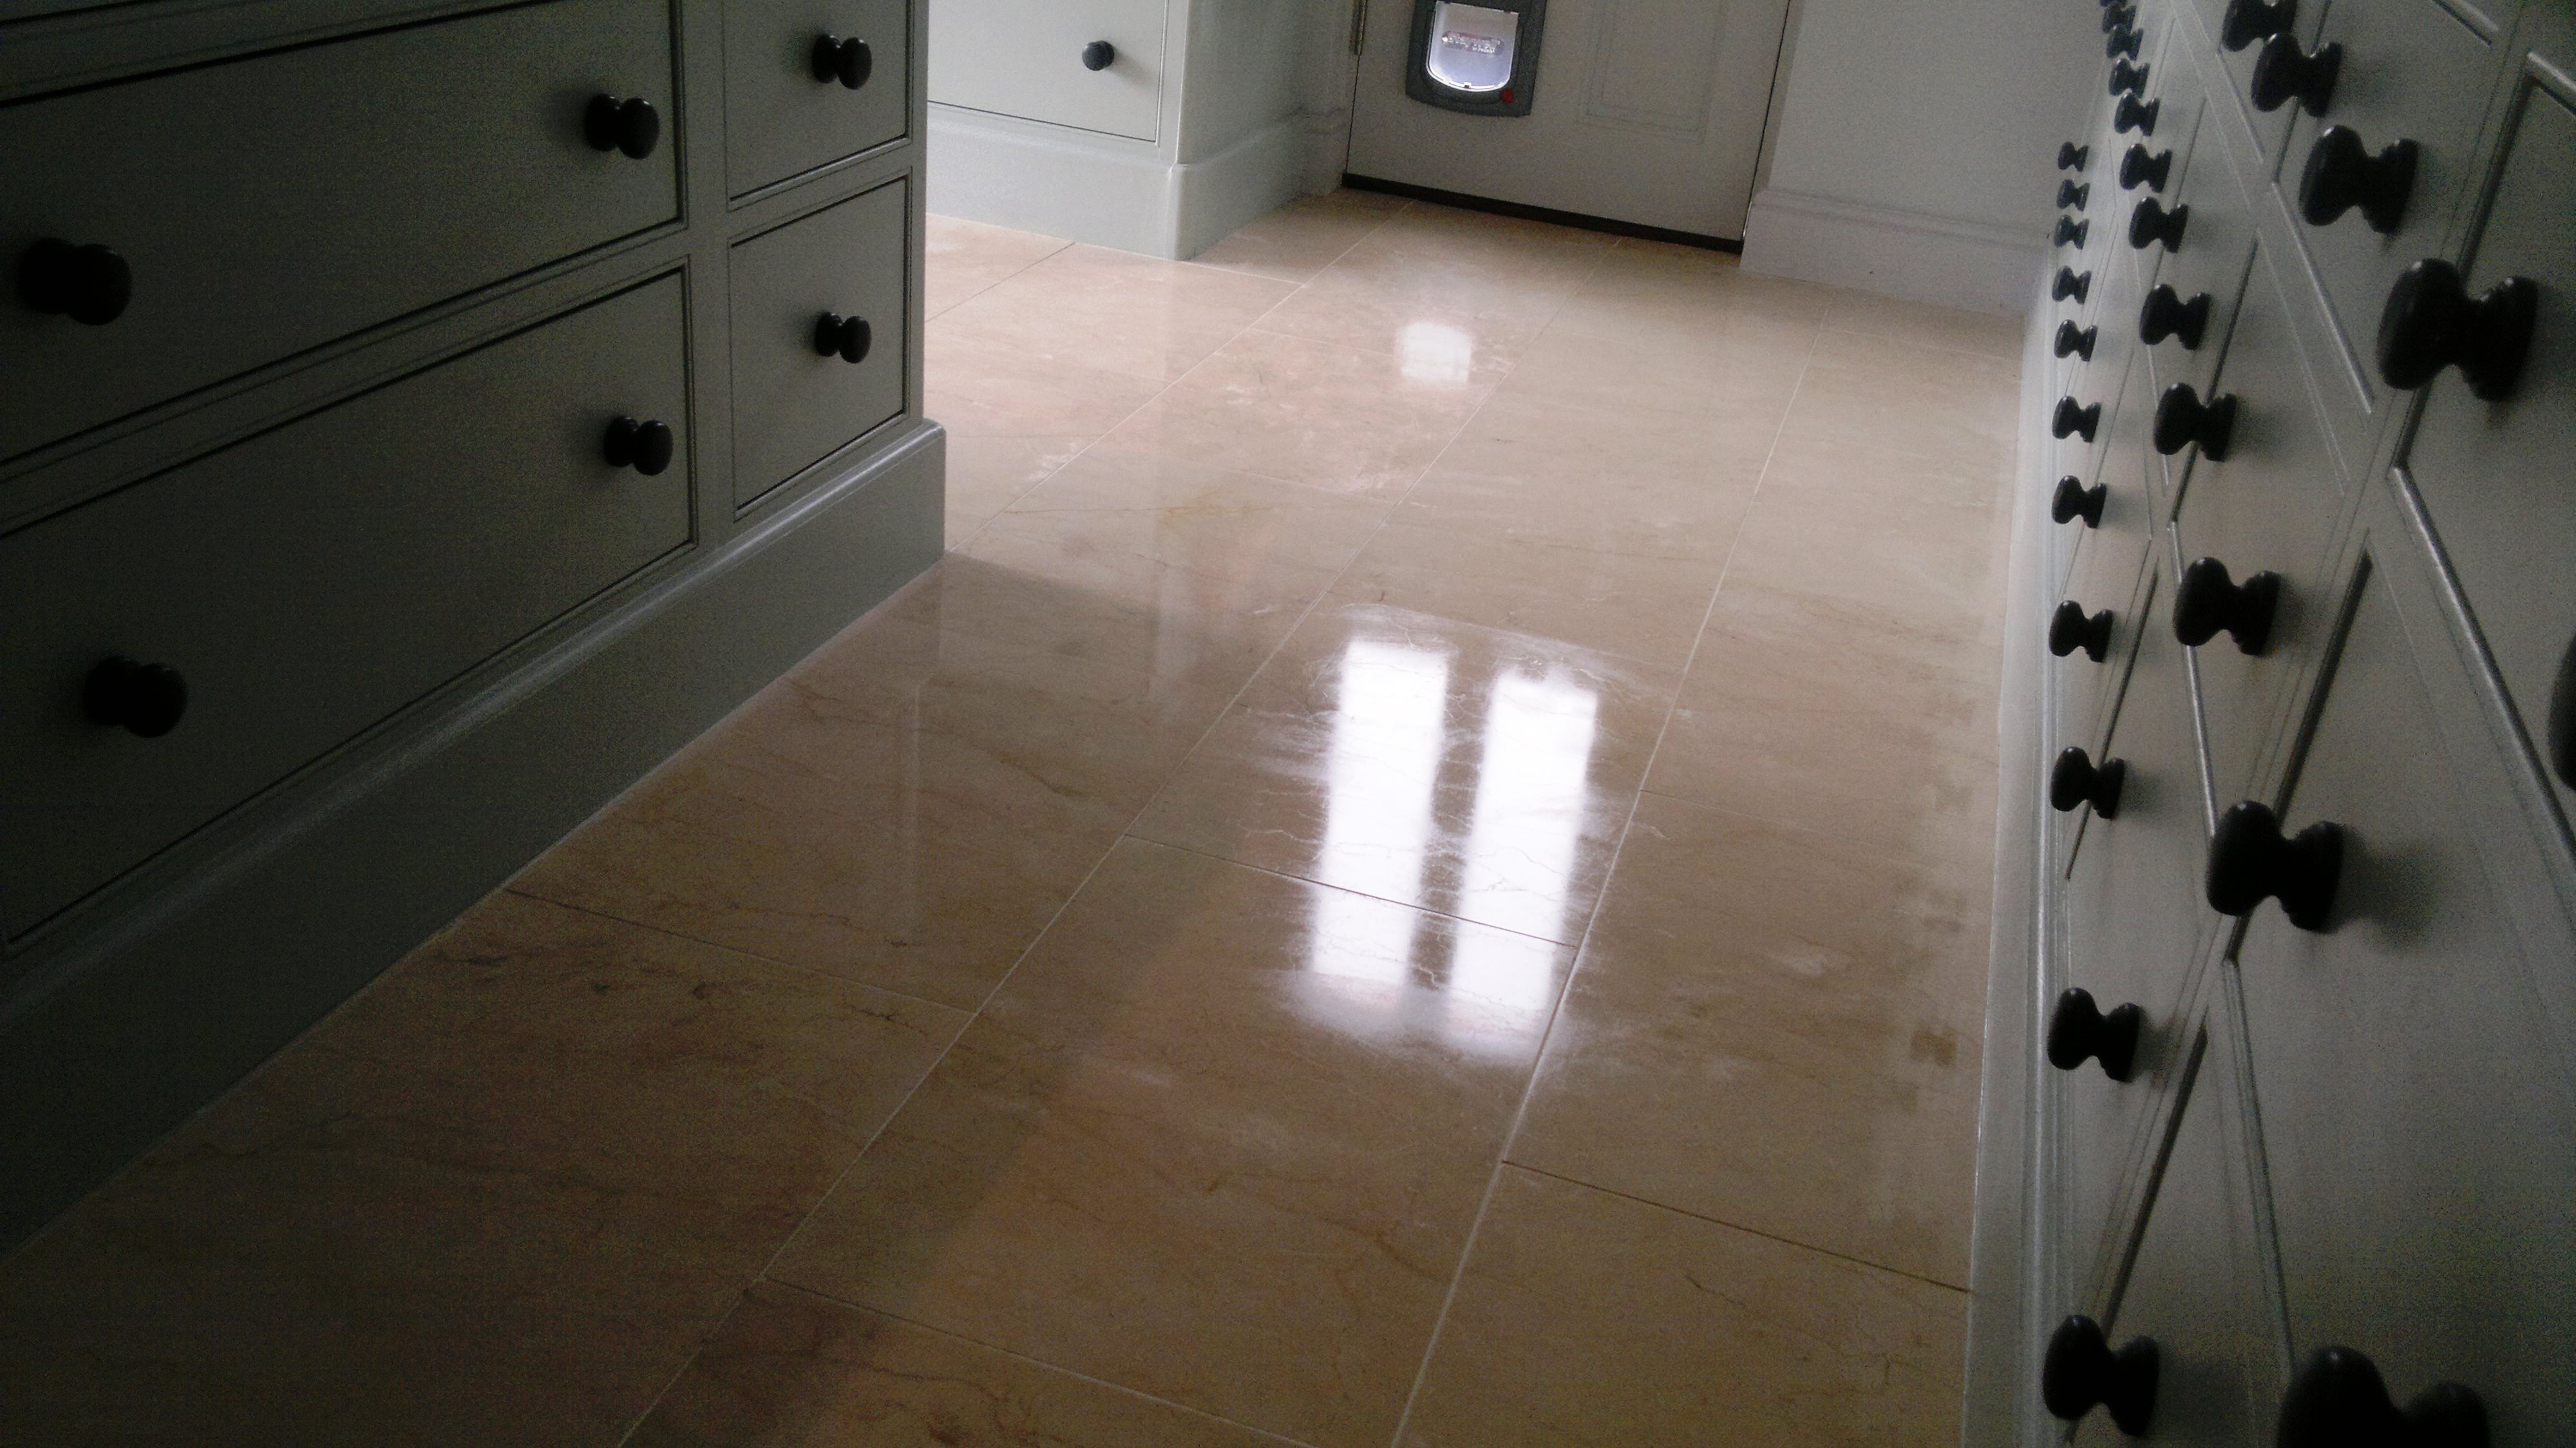
Cleaning Porcelain Tile and Grout in Warsash After
I took the picture above whilst the floor was drying but hopefully you can see the improvement in the look of the tile and how clean the grout has become.

Restoring Porcelain Tiles and Grout in Warsash

Cleaning Micro Porous Porcelain Tiles and Grout in a Warsash Kitchen Read More »

Southampton Grout Recolour Before and After

Grout Colouring in Southampton

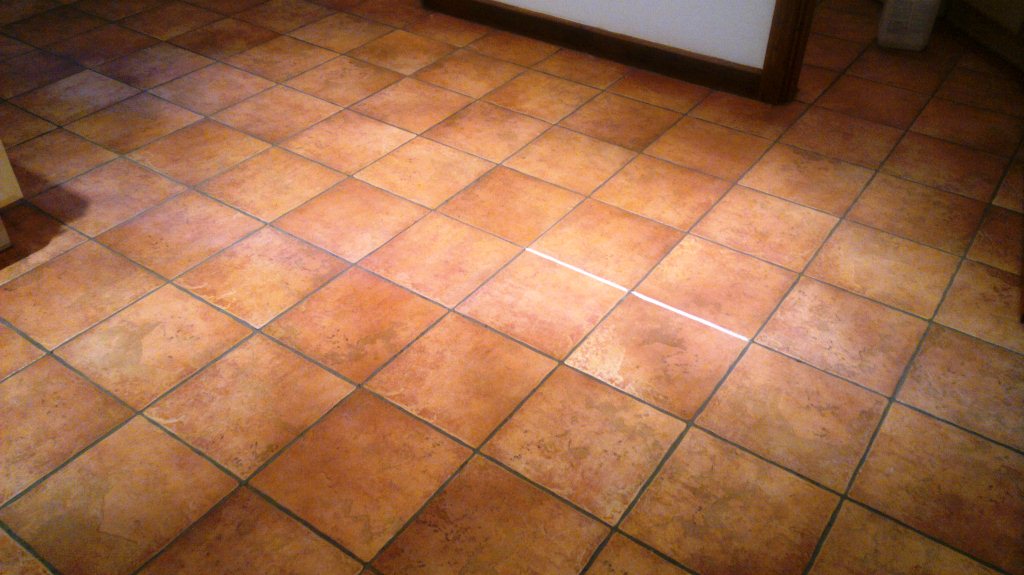
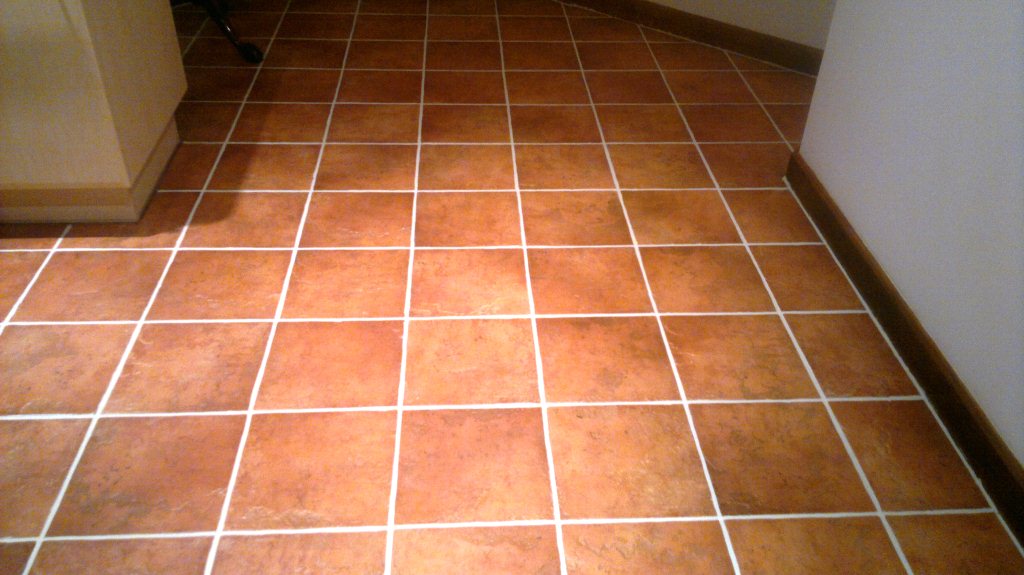
This Porcelain Terracotta floor had dark grout and the home owner wanted the colour changing to lighten the floor. There are a number of products on the market for this purpose including grout colour pens which are ok for a quick touch up but for a large area like this you really need to use the range recommend by Tile Doctor which not only change the colour but also provides a protective barrier that seals the grout as well ensuring it keeps it appearance well into the future.

Southampton Grout Recolour Before

Preparing the Grout

Before applying a Grout Colour it’s important to ensure the grout is clean of grease and dirt; Tile Doctor Pro-Clean is a strong alkaline cleaner that’s good for this purpose, for best results you should allow the cleaner to dwell for a while and then get into the grout joints by hand with a stiff brush. Last step is to rinse the floor down with clean water to remove any remaining cleaning product, I recommend the use of a wet vacuum at this point to remove liquids from the floor.

Southampton Grout Recolour Before Southampton Grout Recolour After

Applying the Grout Colour

Once the grout has dried you can start applying the colourant which is a relatively straightforward process of squeezing the product onto a toothbrush and running it onto the grout. Don’t be tempted to use an old toothbrush for this purpose as it may contaminate the colourant leading to discolouration in the finish. The product sets in a couple of hours so I was able to do the whole floor in a day.

Southampton Grout Recolour After
 

Colouring Grout in Hampshire

Grout Colouring in Southampton Read More »

=================================

Hampshire Tile Doctor

================================= Read More »

Scroll to Top